










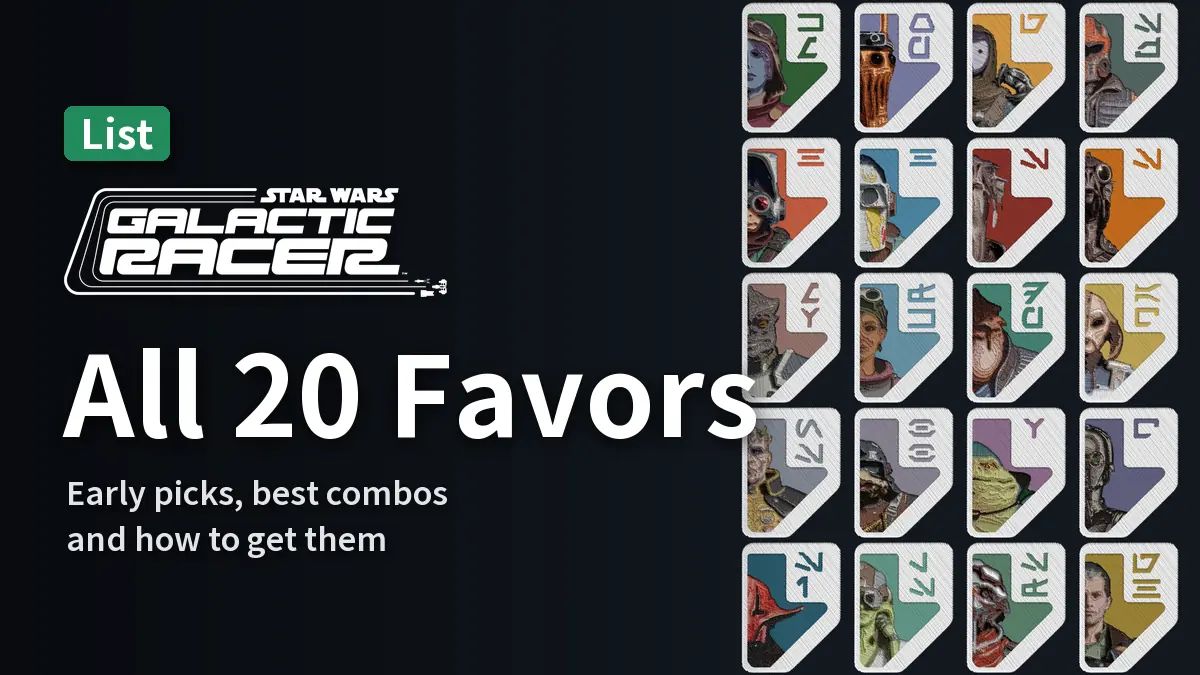
In the Star Wars: Galactic Racer Campaign, winning the respect of your allies and Rivals earns you Favors, the game’s perks. There are 20 Favors in all, and you can equip up to three when you start a tour.
First, we’ll cover the Favors to grab early and the strongest combos. After that, you’ll find tables with the effects and unlock methods for all 20.
What Are Favors?
Favors are passive perks that stay active for as long as you have them equipped. You pick up to three when you start a tour. Failing a tour doesn’t take them away, and you can check every Favor you’ve earned in the Logbook at any time.
| Rule | Details |
|---|---|
| Slots | Up to 3 |
| When to equip | At the start of a tour. A newly earned Favor can be equipped from your next tour onward |
| Reaching Lv2 | Complete 2 planets with Lv1 equipped |
| Reaching Lv3 | Complete 4 planets with Lv2 equipped |
| Restrictions | Clandestine Aid can’t be used in Act III |
Each Favor has three levels, Lv1 to Lv3, and gets stronger as it levels up. To level one up, complete planets with that Favor equipped.
Completing a planet means finishing the events on that planet’s map and moving on to the next planet. In Act II, for example, a Favor reaches Lv2 once you get through Sentinel I and Jakku. Getting to Lv3 takes six planets in total. If a tour ends partway through, the planets you’ve already counted are kept.
Which Favors Should You Get Early?
Every act of the Campaign starts you off with just one League Token. You lose a token in three situations:
- You get Wrecked (you go over your Crash allowance)
- You’re eliminated in an Eliminator
- You lose a Head-to-Head against a Rival
Run out of tokens and the tour starts over from the beginning. So early on, go for Favors that protect your tokens and Favors that power up your vehicle quickly.
| Favor | Why it’s strong | How to get it |
|---|---|---|
| Mad Genius Hibi | Allows one extra Crash (two at Lv2) | Reach Ando Prime in Act I |
| Unassuming Prodigy Goli & 02-R0 | Start with +2 in one Vehicle Stat (three stats at Lv3) | Complete 2 Precision Field Tests |
| Gadgeteer Hibi | Part slots go from 4 to 5 (6 at Lv2) | Complete 6 Time Trial Field Tests |
With Mad Genius equipped, your Crash allowance on Pilot difficulty goes from 3 to 4–5, so you’re less likely to get Wrecked. Unassuming Prodigy at Lv3 is the same as starting a tour with six Upgrades already applied.
Failing a Field Test never costs you a token, and Field Tests are also how you unlock four of the Favors. Whenever a Field Test shows up on the map, make it a priority.
Once you reach Act II, you get Clandestine Aid. It lets you start a tour with two League Tokens, so equip it first thing in Act II.
What Are the Best Favor Combos?
Running out of tokens ends your tour, so fill your three slots with two token-protecting Favors + one vehicle-boosting Favor. With token protection, a single mistake won’t end your tour.
In Act III, though, Clandestine Aid isn’t available, so the combo changes.
Act II: Clandestine Aid + Mad Genius + Gadgeteer
| Favor | Role |
|---|---|
| Clandestine Aid | Start with 2 tokens. At Lv3 you also get 2,000 credits |
| Mad Genius | 2 extra Crashes allowed (Lv2 and up) |
| Gadgeteer | 6 Part slots (Lv2 and up). At Lv3, the shop also stocks 2 more Parts |
If you don’t have Gadgeteer yet, use Unassuming Prodigy instead.
Act III: Second Chance + Mad Genius + Gadgeteer
In Act III, Pax is taken away by the Bools, so Clandestine Aid can’t be used. Equip Second Chance in its place.
At Lv3, Second Chance saves you from losing a token once during your first four planets. Act III has six planets, so it covers four of them.
You can only get Second Chance after clearing Act II. If you don’t have it, use Unassuming Prodigy instead.
Farming Credits: Mad Genius + Team Vranki + Smuggler’s Hope
Team Vranki is a Favor that pays out credits for every Crash you have left unused when you clear a race or Eliminator. Raise your Crash allowance with Mad Genius and the payout grows to match.
| Difficulty | Crashes allowed (Mad Genius Lv2) | Payout with zero Crashes (Team Vranki Lv3) |
|---|---|---|
| Cadet | 7 | 1,400 |
| Pilot | 5 | 1,000 |
| Ace | 4 | 800 |
On Pilot, that 1,000 credits is the same as the prize for finishing 2nd in a race. Champion doesn’t reset your Crashes after each race, so it’s a poor fit for this strategy.
Smuggler’s Hope at Lv3 lets you buy one Part at Hibi’s Shop for 99% off. A 4,000-credit Legendary Part drops to 40 credits, and you can spend the credits you save on packs.
Cashing In on Sidebets: High Roller + Racer Roulette + Underhanded Upperhand
In a Sidebet, you bet credits against an opponent before a race, and whoever finishes ahead takes the stakes. If you take every Sidebet, equip these three:
- High Roller: Up to double the credits you get for winning a Sidebet
- Racer Roulette: Win 4 Sidebets against Biddy Blas in a single tour (Lv3) to gain a token
- Underhanded Upperhand: System Malfunctions on your Sidebet and Head-to-Head opponents last up to 10x longer
Underhanded Upperhand isn’t available until Act III, and getting it costs 13,000–16,000 credits in total.
Combos That Work Against Each Other
- Fan Club (triggers in the top 3) and Victorious Loser (triggers in 4th or lower) can’t both trigger in the same event
- Deeper Pockets (one fewer reward option) and Bloody Bounty (1–2 more options) cancel out each other’s option changes
All 20 Favors and Their Effects
We’ve sorted them into five groups by effect type. The right-hand column lists the values at Lv1, Lv2 and Lv3.
Token and Crash Protection Favors
| Favor | Effect | Values by level |
|---|---|---|
| Clandestine Aid Darius Pax | +1 League Token at the start of a tour | Lv1: +1 token Lv2: +1 token and 1,000 credits Lv3: +1 token and 2,000 credits |
| Mad Genius Hibi | More Crashes allowed per event | Lv1: +1 Lv2: +2 Lv3: +2, plus a chance of +1 token after being Knocked Out |
| Second Chance Katja Mox | Saves you from losing a token once during your first few planets | Lv1: First 2 planets Lv2: First 3 planets Lv3: First 4 planets |
Vehicle-Boosting Favors
| Favor | Effect | Values by level |
|---|---|---|
| Unassuming Prodigy Goli & 02-R0 | +2 to random Vehicle Stats at the start of a tour | Lv1: +2 to 1 stat Lv2: +2 to 2 stats Lv3: +2 to 3 stats |
| Gadgeteer Hibi | More Part slots on your vehicle | Lv1: +1 slot Lv2: +2 slots Lv3: +2 slots, plus 2 more Parts in the shop |
| Brutal Calm Nik Skandaro | +1 Resilience when you clear an event with multiple Takedowns | Lv1: 5+ Takedowns Lv2: 4+ Takedowns Lv3: 3+ Takedowns |
| Feet First Sebulba | An Ability Pack each time you finish one of a tour’s first races or Eliminators | Lv1: 1 pack Lv2: 2 packs (1 per event) Lv3: 3 packs (1 per event) |
| Old Greats Sebulba | Chance to repair a Faulty Part when you clear a Podracer Test | Lv1: 50% chance Lv2: 75% chance Lv3: Guaranteed |
Reward and Shop Favors
| Favor | Effect | Values by level |
|---|---|---|
| Bloody Bounty Pirate backer | More options in reward packs | Lv1: +1 option Lv2: +2 options Lv3: +2 options, and +2 in shop packs too |
| Deeper Pockets Broker backer | One fewer option in reward packs, with a chance of higher rarity | Lv1: 20% chance of higher rarity Lv2: 25% chance of higher rarity Lv3: 35% chance of higher rarity |
| Silent Defiance Sen Fira | Chance of a bonus Part Pack when you clear an event | Lv1: 25% chance Lv2: 50% chance Lv3: 50% chance, plus higher Part rarity |
| Fan Club Lyren Shok | Finish in the top 3 for a 20% chance of a bonus Upgrade Pack | Lv1: A +1 pack Lv2: A +2 pack Lv3: A +3 pack |
| Smuggler’s Hope Soren Zaks | A discount on one Part at Hibi’s Shop | Lv1: 50% off Lv2: 75% off Lv3: 99% off |
| Preferred Customer Ori & Per | Scrap Dealers show up on the map twice as often | Lv1: 2x as often Lv2: 2x as often, 25% off repairs Lv3: 2x as often, 50% off repairs |
Credit-Earning Favors
| Favor | Effect | Values by level |
|---|---|---|
| Team Vranki Hutt backer | Credits for each unused Crash when you clear an event | Lv1: 100 per Crash Lv2: 150 per Crash Lv3: 200 per Crash |
| Family Legacy Ary Quill | Credits every time you take down your Rival | Lv1: 200 (400 for Kestar) Lv2: 400 (800 for Kestar) Lv3: 600 (1,200 for Kestar) |
| Victorious Loser Griff Halloran | 1.5x credits when you finish near the bottom | Lv1: Finish 10th–12th Lv2: Finish 7th–12th Lv3: Finish 4th–12th |
Sidebet Favors
| Favor | Effect | Values by level |
|---|---|---|
| High Roller Fola Kanjen | More credits from winning Sidebets | Lv1: +50% winnings Lv2: +75% winnings Lv3: +100% winnings |
| Racer Roulette Biddy Blas | +1 token for winning a set number of Sidebets against Biddy in a single tour | Lv1: 6 wins Lv2: 5 wins Lv3: 4 wins |
| Underhanded Upperhand Malis Vazosk | System Malfunctions on your Sidebet and Head-to-Head opponents last longer | Lv1: 3x longer Lv2: 5x longer Lv3: 10x longer |
How to Unlock Every Favor
There are five ways to get Favors. The “Available” column in each table shows the earliest act in which you can get them.
Complete Field Tests (4 Favors)
| Favor | Requirement | Available |
|---|---|---|
| Unassuming Prodigy Goli & 02-R0 | Complete 2 Precision Field Tests in total | From Act I |
| Gadgeteer Hibi | Complete 6 Time Trial Field Tests in total | From Act I |
| Brutal Calm Nik Skandaro | Complete 2 Battling Field Tests in total | From Act I |
| Smuggler’s Hope Soren Zaks | Complete 6 Ramjet Field Tests in total | From Act I |
These counts are totals across the whole Campaign, so they don’t go back to zero when you restart a tour. Once you hit the number, you receive the Favor after talking to that ally.
If you can’t pass the Ramjet Field Test, check out our guide with tips for beating it.

Beat Rivals in Head-to-Heads (5 Favors)
From Act II on, Rivals start challenging you to Head-to-Heads. Win and you get a Favor (plus colors and liveries), but a loss costs you a token.
| Favor | Rival to beat | Available |
|---|---|---|
| Silent Defiance | Sen Fira | From Act III |
| Fan Club | Lyren Shok | From Act II |
| Family Legacy | Ary Quill | From Act II |
| Victorious Loser | Griff Halloran | From Act II |
| High Roller | Fola Kanjen | From Act II |
Beating the other six Rivals (Goli, Soren, Nik, Katja, Biddy and Malis) only earns you colors and liveries. Their Favors come from Field Tests or Mystery Encounters instead.
Complete Mystery Encounter Chains (3 Favors)
Racer Roulette is yours once you accept three bets in a row from Biddy Blas. Winning or losing the bets doesn’t matter: you get it the moment you accept the third one.
- “Alright, you’re on.”First bet. Beat Biddy and you get 250; lose and you pay 250
- “Quadruple or nothing.”Second bet. Win and you get 1,000; lose and you pay 750
- “Let’s go, taxman!”Third bet. Win and you get 2,000; lose and you pay 1,500. You get the Favor the moment you accept
Second Chance is earned by taking on Katja Mox’s three trials after you’ve cleared Act II. For the first two, Katja gives you a reward six days after you accept the handicap, and you move on to the next trial.
- “I’ll take on the ramjet / afterburner / abilities challenge.”First trial. Choose one: Ramjet heats up 2x faster, Afterburner drains 3x faster, or Abilities take 2x as long to cool down. Later you get +2 to every Vehicle Stat
- “I’ll sacrifice my speed / cornering control / my vehicle parts.”Second trial. Choose one: −10% Top Speed, lose all Cornering and Maneuvering Upgrades, or lose all your Parts. Later you get +2 to every Vehicle Stat (or two Legendary Parts if you gave up your Parts)
- “Fine, take them.” / “No.”Third trial. You get the Favor whichever you answer
Underhanded Upperhand is earned by hiring Malis Vazosk for three jobs after you’ve cleared Act II.
- “I want you to sabotage another racer.” / “I want you to steal from my rival.”First job. Pay 1,000 to have a random racer sabotaged, or 2,000 to have your Rival sabotaged (you also get an Epic Part)
- “I want you to sabotage the other racers.” / “I want you to sabotage Kestar.”Second job. Pay 5,000 to have 5 racers sabotaged, or 7,000 to have Kestar sabotaged
- “You’re hired.”Third job. Pay 7,000 for a permanent contract and you get the Favor
You’ll find the other Mystery Encounter choices and their outcomes here.

Keep a Backer Satisfied (3 Favors)
From Act II, you can choose a backer when you start a tour. Keep your backer’s rating at Satisfactory or higher all the way to Derven Acos and you’ll get that backer’s Favor.
| Favor | Backer | Available |
|---|---|---|
| Bloody Bounty | The Pirate | From Act II |
| Deeper Pockets | The Broker | From Act II |
| Team Vranki | The Hutt | From Act II |
Progress the Campaign (5 Favors)
These Favors take nothing special: you get them just by progressing through the Campaign.
| Favor | Requirement | Available |
|---|---|---|
| Clandestine Aid Darius Pax | Granted when you reach Act II | From Act II |
| Mad Genius Hibi | Reach Ando Prime in Act I and talk to Hibi | From Act I |
| Feet First Sebulba | Win the first Tales of Podracing event | From Act II |
| Old Greats Sebulba | Clear all 12 Tales of Podracing events | From Act III |
| Preferred Customer Ori & Per | Buy 4 Parts in total from the Scrap Dealer | From Act I |
Even if a tour ends before you reach Ando Prime, you’ll still get Mad Genius once you’ve reached Lantaana twice. Tales of Podracing are events where Sebulba tells stories of past podraces and you race them yourself.
The win conditions for each Tales of Podracing event are listed in our Abilities guide.






Comments