







Abilities in Star Wars: Galactic Racer are gear you trigger yourself during a race, such as Shield or mines. Each use costs 1 Energy and puts the Ability into a 15-second reload. You can equip up to 4 on your vehicle.
You start with 3 Energy, and raising your Battery Upgrade adds more. Only Crash Abilities (the Ion Blast family) use no Energy at all: they fire every time you Crash.
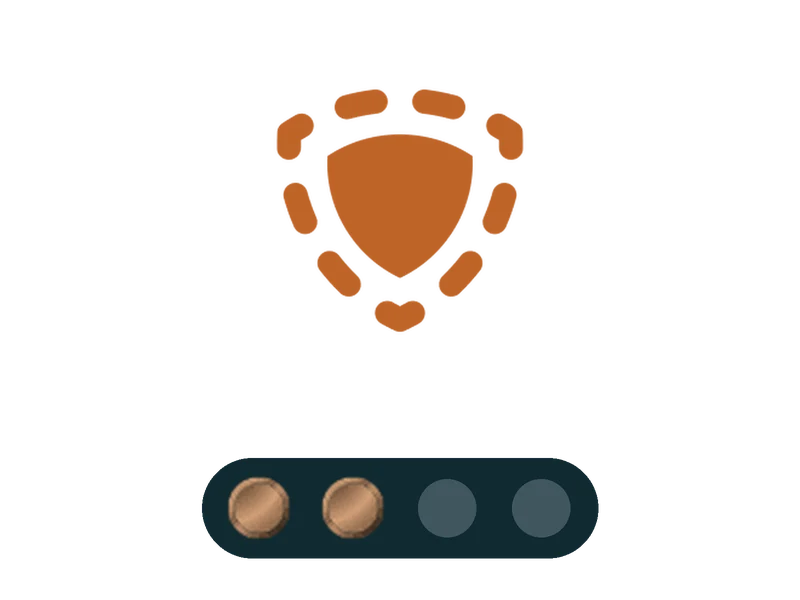
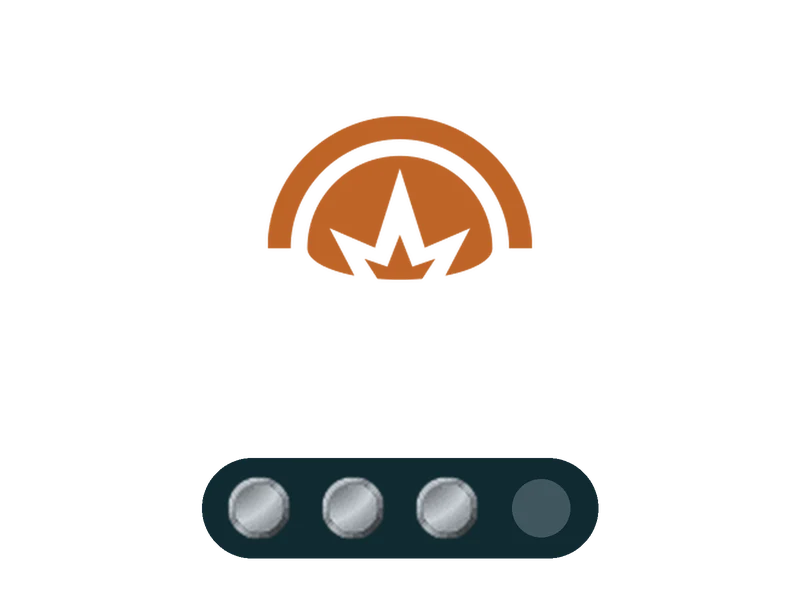
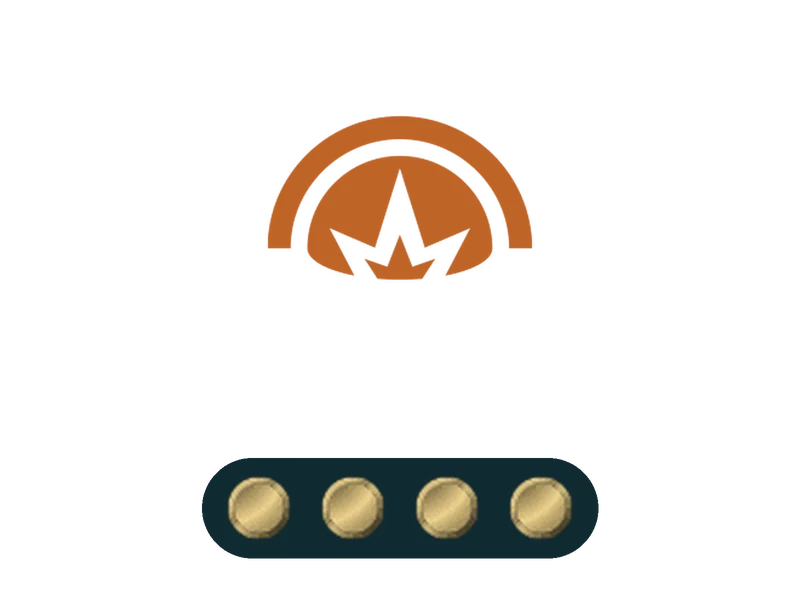
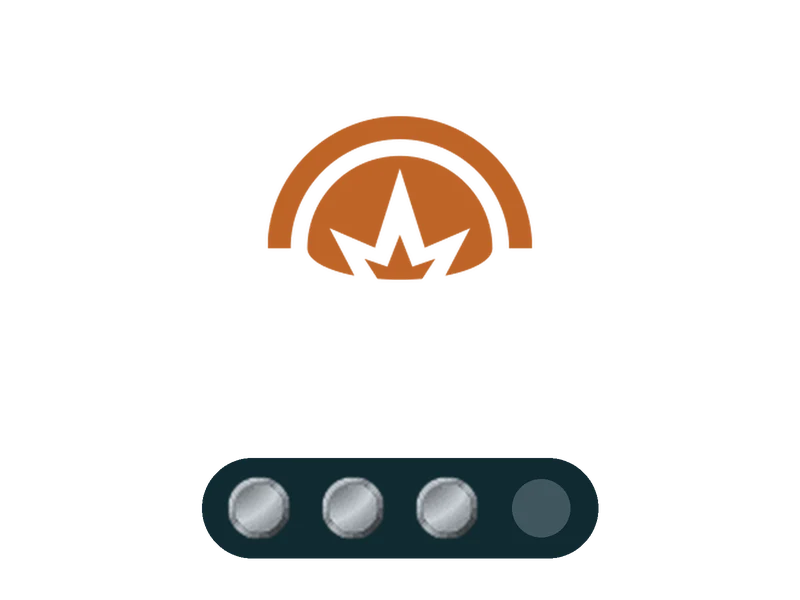
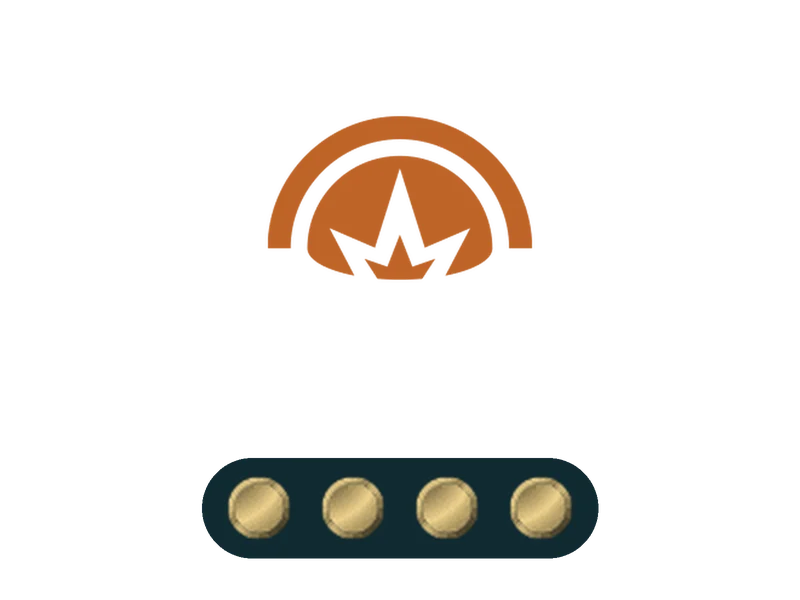
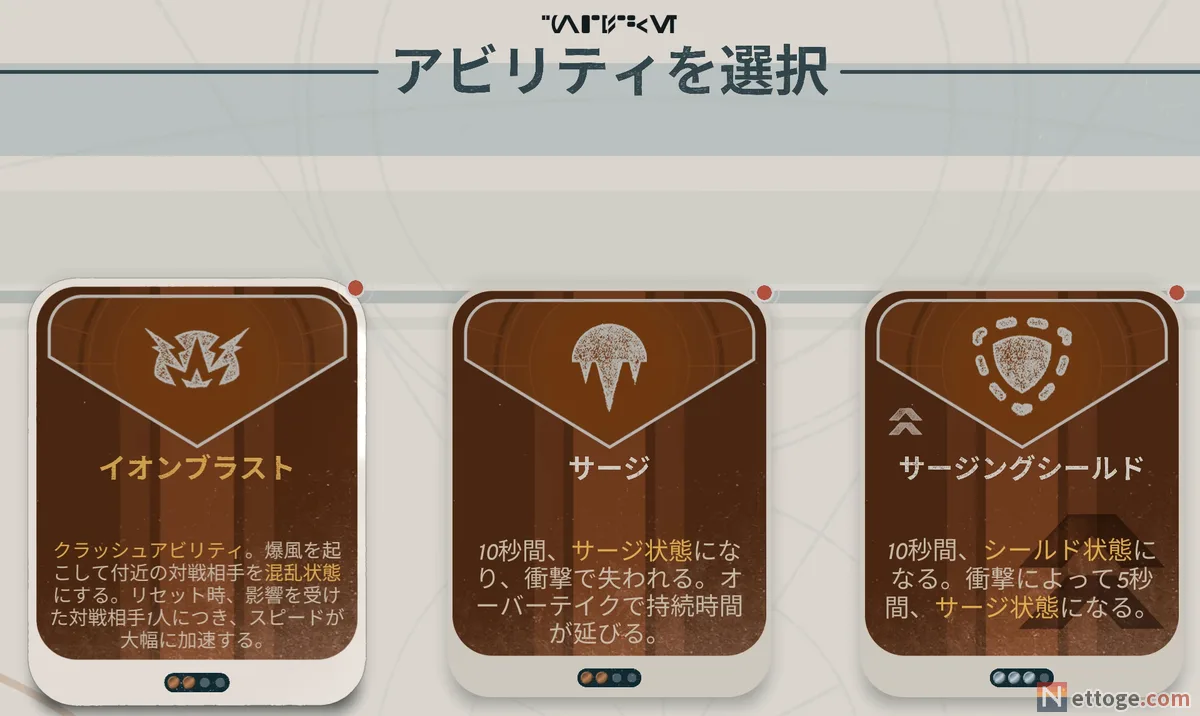
All 45 Abilities fall into 9 families, and upgrading a Lv1 Ability turns it into Lv2 and then Lv3 (the Ion Blast family stops at Lv2). The more dots at the bottom of a card, the higher its level, and Lv2 and Lv3 cards have a “^^” mark to the left of the name.
- Abilities can’t be bought one at a time in the shop. You get them from Ability Packs (pick 1 of 3 random Abilities)
- Lv2 and Lv3 show up as upgrades to Abilities you have equipped. Within a family, the upgrades branch 2 or 3 ways
- The Ion Bolt, Concussion Mine and Shockwave families won’t appear until you unlock them in Tales of Podracing
- Crash Abilities (the Ion Blast family) fire automatically when you Crash. They don’t use Energy
All 45 Abilities and Their Effects
Abilities are grouped by family, from Lv1 through each upgrade branch. Tap a card to open its effect, detailed numbers, upgrade path and unlock condition. 26 of them are available from the start, and the rest unlock in Tales of Podracing.
Nothing matches.
Shield 5
- Shielded
- Reduces collision damage and blocks negative status effects applied by others. Breaks after 0.8s of exposure to Corroded
- Pre-Race Checks
- The first use costs no Energy, and Shielded lasts 1.5x as long (15s)
- Shielded
- Reduces collision damage and blocks negative status effects applied by others. Breaks after 0.8s of exposure to Corroded
- Pre-Race Checks
- The first use costs no Energy, and Shielded lasts 1.5x as long (15s)
- Shielded
- Reduces collision damage and blocks negative status effects applied by others. Breaks after 0.8s of exposure to Corroded
- Pre-Race Checks
- The first use costs no Energy
- Shielded
- Reduces collision damage and blocks negative status effects applied by others. Breaks after 0.8s of exposure to Corroded
- Pre-Race Checks
- The first use costs no Energy, and Shielded lasts 1.5x as long (15s)
- Shielded
- Reduces collision damage and blocks negative status effects applied by others. Breaks after 0.8s of exposure to Corroded
- Extension
- 5s per collision
- Pre-Race Checks
- The first use costs no Energy, and Shielded lasts 1.5x as long (15s)
Surge 5
- Surging
- +80 km/h Top Speed for about the first 1.4s, then +24 km/h for as long as it lasts (same for all 4 vehicle types)
- Ends
- On impact. Overtakes reset the timer to full
- Pre-Race Checks
- The first use costs no Energy
- Surging
- +80 km/h Top Speed for about the first 1.4s, then +24 km/h for as long as it lasts (same for all 4 vehicle types)
- Ends
- On impact. Overtakes reset the timer to full
- Per overtake
- Surge speed bonus +50%
- Pre-Race Checks
- The first use costs no Energy
- Surging
- +80 km/h Top Speed for about the first 1.4s, then +24 km/h for as long as it lasts (same for all 4 vehicle types)
- Ends
- On impact. Overtakes reset the timer to full
- Per overtake
- Surge speed bonus +50%
- Pre-Race Checks
- The first use costs no Energy
- Surging
- +80 km/h Top Speed for about the first 1.4s, then +24 km/h for as long as it lasts (same for all 4 vehicle types)
- Not lost
- Impacts don’t end it. Overtakes, Takedowns and collisions all reset the timer to full
- Pre-Race Checks
- The first use costs no Energy
- Surging
- +80 km/h Top Speed for about the first 1.4s, then +24 km/h for as long as it lasts (same for all 4 vehicle types)
- Not lost
- Impacts don’t end it. Overtakes, Takedowns and collisions all reset the timer to full
- Takedown
- Each one recovers 1 Energy
- Pre-Race Checks
- The first use costs no Energy
Vent 6
- While active
- Your Ramjet keeps cooling even while boosting
- Cooled
- Cools your Ramjet and gives you up to 1.5x as much time in the red zone before it explodes
- Pre-Race Checks
- You start the race with Vent already active
- While active
- Your Ramjet keeps cooling even while boosting
- Cooled
- Cools your Ramjet and gives you up to 1.5x as much time in the red zone before it explodes
- Pre-Race Checks
- You start the race with Vent already active
- While active
- Your Ramjet keeps cooling even while boosting
- Cooled
- Cools your Ramjet and gives you up to 1.5x as much time in the red zone before it explodes
- Opponents
- Makes nearby opponents Corroded for 1s
- Pre-Race Checks
- You start the race with Vent already active
- While active
- Your Ramjet keeps cooling even while boosting
- Cooled
- Cools your Ramjet and gives you up to 1.5x as much time in the red zone before it explodes
- Pre-Race Checks
- You start the race with Vent already active
- While active
- Your Ramjet keeps cooling even while boosting
- Cooled
- Cools your Ramjet and gives you up to 1.5x as much time in the red zone before it explodes
- Pre-Race Checks
- You start the race with Vent already active
- While active
- Your Ramjet keeps cooling even while boosting
- Cooled
- Cools your Ramjet and gives you up to 1.5x as much time in the red zone before it explodes
- Pre-Race Checks
- You start the race with Vent already active
Status Scrubber 5
- Clears and refunds Energy
- BurningSystem MalfunctionChokedFrozenCorrodedDisruptedBlindedConcussedSappedCritical Malfunction
- Clears only
- ChilledHeated
- Pre-Race Checks
- Widens the Perfect Start window and gives its boost +10% Top Speed. Also +1 max Energy
- Clears and refunds Energy
- BurningSystem MalfunctionChokedFrozenCorrodedDisruptedBlindedConcussedSappedCritical Malfunction
- Clears only
- ChilledHeated
- Auto-activates on
- System MalfunctionCritical Malfunction
- Pre-Race Checks
- Widens the Perfect Start window and gives its boost +10% Top Speed. Also +1 max Energy
- Clears and refunds Energy
- BurningSystem MalfunctionChokedFrozenCorrodedDisruptedBlindedConcussedSappedCritical Malfunction
- Clears only
- ChilledHeated
- Auto-activates on
- BurningSystem MalfunctionChokedFrozenCorrodedDisruptedConcussedSappedCritical Malfunction
- Pre-Race Checks
- Widens the Perfect Start window and gives its boost +10% Top Speed. Also +1 max Energy
- Clears and refunds Energy
- BurningSystem MalfunctionChokedFrozenCorrodedDisruptedBlindedConcussedSappedCritical Malfunction
- Clears only
- ChilledHeated
- Pre-Race Checks
- Widens the Perfect Start window and gives its boost +10% Top Speed. Also +1 max Energy
- Clears and refunds Energy
- BurningSystem MalfunctionChokedFrozenCorrodedDisruptedBlindedConcussedSappedCritical Malfunction
- Clears only
- ChilledHeated
- Pre-Race Checks
- Widens the Perfect Start window and gives its boost +10% Top Speed. Also +1 max Energy
Autopilot 5
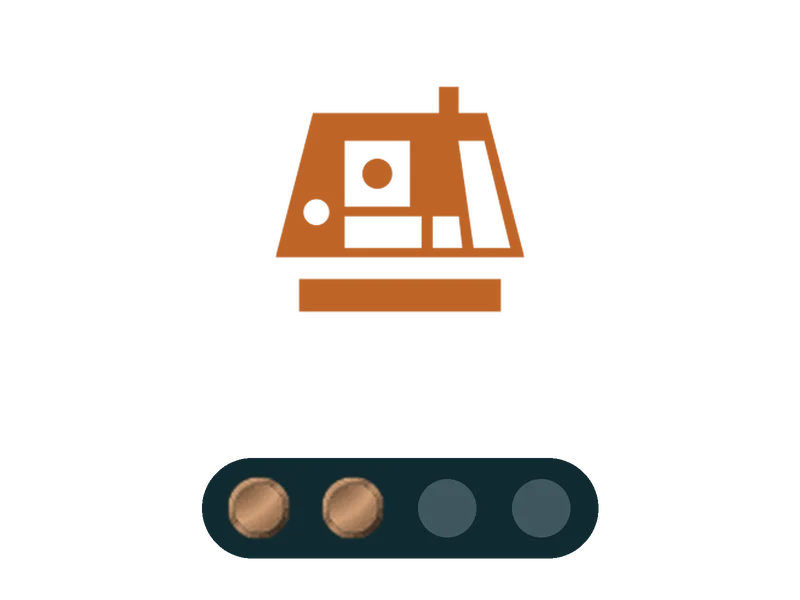
- While on autopilot
- Ramjet heating −40%, and Cornering and Maneuvering +10 steps. Unaffected by Frozen
- Duration
- The description says 10s; the data value is 12.5s
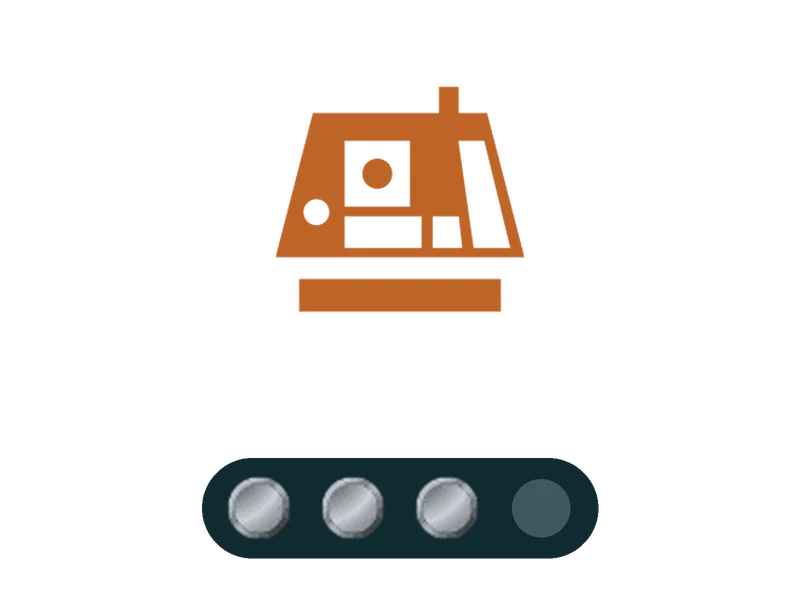
- While on autopilot
- Ramjet heating −40%, and Cornering and Maneuvering +10 steps. Unaffected by Frozen
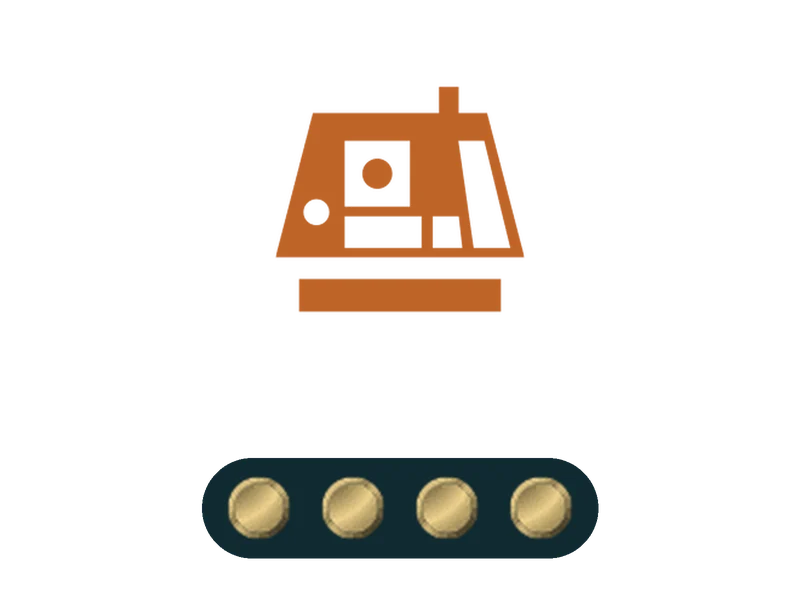
- While on autopilot
- Ramjet heating −40%, and Cornering and Maneuvering +10 steps. Unaffected by Frozen
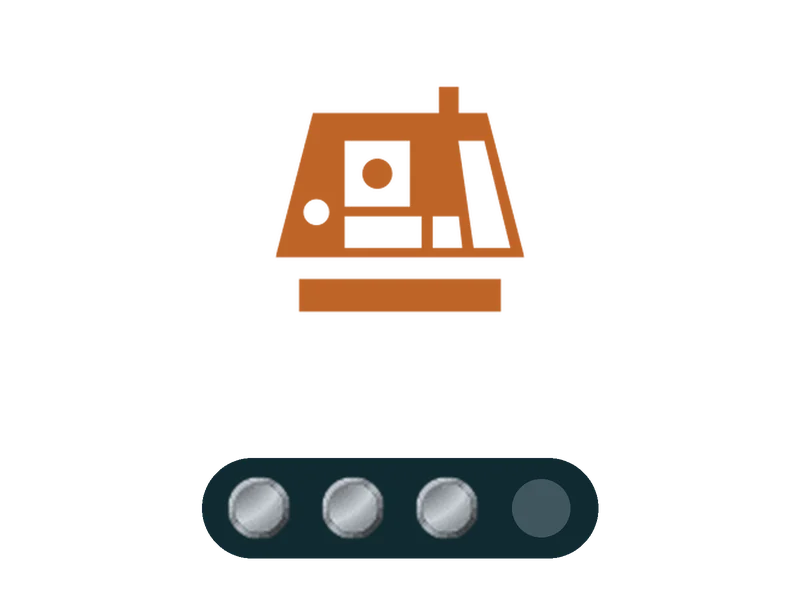
- While on autopilot
- Ramjet heating −40%, and Cornering and Maneuvering +10 steps. Unaffected by Frozen
- Duration
- The description says 15s; the data value is 17.5s
- While on autopilot
- Ramjet heating −40%, and Cornering and Maneuvering +10 steps. Unaffected by Frozen
- Duration
- The description says 15s; the data value is 17.5s
- Also
- Top Speed +6 steps while on autopilot
Ion Blast (Crash Ability) 4
- Activation
- Fires automatically when you Crash
- Disrupted
- Disrupted opponents lose 30% Top Speed and half their acceleration, and can’t use Abilities or Overcharged
- On reset
- Speed +3 steps per opponent hit
- Activation
- Fires automatically when you Crash
- Disrupted
- Disrupted opponents lose 30% Top Speed and half their acceleration, and can’t use Abilities or Overcharged
- On reset
- Speed +3 steps per opponent hit
- Cooled
- 10s per opponent hit. Your Ramjet also recovers on reset
- Activation
- Fires automatically when you Crash
- Disrupted
- Disrupted opponents lose 30% Top Speed and half their acceleration, and can’t use Abilities or Overcharged
- On reset
- Speed +3 steps per opponent hit
- Overcharged
- 10s, plus 10s per opponent hit. Recovers 2 Energy per opponent
- Activation
- Fires automatically when you Crash
- Disrupted
- Disrupted opponents lose 30% Top Speed and half their acceleration, and can’t use Abilities or Overcharged
- On reset
- Speed +3 steps per opponent hit
- Shielded
- 10s per opponent hit
Ion Bolt 5
- Lock-on
- Locks on to 1 opponent in 2.5s. Range is up to 150 m (225 m on a Podracer)
- Disrupted
- Disrupted opponents lose 30% Top Speed and half their acceleration, and can’t use Abilities or Overcharged
- Pre-Race Checks
- The first use locks on in half the time
- Lock-on
- Locks on to 1 opponent in 2.5s. Range is up to 150 m (225 m on a Podracer)
- Disrupted
- Disrupted opponents lose 30% Top Speed and half their acceleration, and can’t use Abilities or Overcharged
- Concussed
- Concussed opponents steer worse (Landspeeder and Skim Speeder −25%, Speeder Bike −75%, Podracer −50%)
- Pre-Race Checks
- The first use locks on in half the time
- Lock-on
- Locks on to 1 opponent in 2.5s. Range is up to 150 m (225 m on a Podracer)
- Disrupted
- Disrupted opponents lose 30% Top Speed and half their acceleration, and can’t use Abilities or Overcharged
- Concussed
- Concussed opponents steer worse (Landspeeder and Skim Speeder −25%, Speeder Bike −75%, Podracer −50%)
- Pre-Race Checks
- The first use locks on in half the time
- Lock-on
- Up to 5 opponents, 0.5s each. Range is up to 150 m (225 m on a Podracer)
- Disrupted
- Disrupted opponents lose 30% Top Speed and half their acceleration, and can’t use Abilities or Overcharged
- Pre-Race Checks
- The first use locks on in half the time
- Lock-on
- Up to 5 opponents, 0.5s each. Range is up to 150 m (225 m on a Podracer)
- Disrupted
- Disrupted opponents lose 30% Top Speed and half their acceleration, and can’t use Abilities or Overcharged
- Pre-Race Checks
- The first use locks on in half the time
Concussion Mine 5
- Placement
- Multiple mines drop 0.5s apart. AI racers have a 60% chance of noticing a mine
- Concussed
- Concussed opponents steer worse (Landspeeder and Skim Speeder −25%, Speeder Bike −75%, Podracer −50%)
- Placement
- Multiple mines drop 0.5s apart. AI racers have a 60% chance of noticing a mine
- Concussed
- Concussed opponents steer worse (Landspeeder and Skim Speeder −25%, Speeder Bike −75%, Podracer −50%)
- Placement
- Multiple mines drop 0.5s apart. AI racers have a 60% chance of noticing a mine
- Concussed
- Concussed opponents steer worse (Landspeeder and Skim Speeder −25%, Speeder Bike −75%, Podracer −50%)
- Placement
- Multiple mines drop 0.5s apart. AI racers have a 60% chance of noticing a mine
- Concussed
- Concussed opponents steer worse (Landspeeder and Skim Speeder −25%, Speeder Bike −75%, Podracer −50%)
- Placement
- Multiple mines drop 0.5s apart. AI racers have a 60% chance of noticing a mine
- Concussed
- Concussed opponents steer worse (Landspeeder and Skim Speeder −25%, Speeder Bike −75%, Podracer −50%)
Shockwave 5
- Wind-up
- 0.2s (Magnetic Shockwave pulls opponents in for 1s first). 1.5x radius on a Podracer
- Wind-up
- 0.2s (Magnetic Shockwave pulls opponents in for 1s first). 1.5x radius on a Podracer
- Forward push
- 0.75s. Knocks opponents away with about 90% of the force of the other Shockwaves
- Wind-up
- 0.2s (Magnetic Shockwave pulls opponents in for 1s first). 1.5x radius on a Podracer
- Forward push
- 0.75s. About 1.4x the push of Vectored Shockwave
- Wind-up
- 0.2s (Magnetic Shockwave pulls opponents in for 1s first). 1.5x radius on a Podracer
- Wind-up
- 0.2s (Magnetic Shockwave pulls opponents in for 1s first). 1.5x radius on a Podracer
- Concussed
- Concussed opponents steer worse (Landspeeder and Skim Speeder −25%, Speeder Bike −75%, Podracer −50%)
| Name | Level | Unlock | Family |
|---|---|---|---|
| Shield | Lv1 | From the start | Shield |
| Surging Shield | Lv2 | From the start | Shield |
| Surging Shield II | Lv3 | From the start | Shield |
| Impact Shield | Lv2 | From the start | Shield |
| Impact Shield II | Lv3 | From the start | Shield |
| Surge | Lv1 | From the start | Surge |
| Overtaking Surge | Lv2 | From the start | Surge |
| Overtaking Surge II | Lv3 | From the start | Surge |
| Impact Surge | Lv2 | Tales of Podracing | Surge |
| Impact Surge II | Lv3 | Tales of Podracing | Surge |
| Vent | Lv1 | From the start | Vent |
| Flame Vent | Lv2 | Tales of Podracing | Vent |
| Corrosive Vent | Lv3 | Tales of Podracing | Vent |
| Vent II | Lv2 | From the start | Vent |
| Auto-Vent | Lv3 | From the start | Vent |
| Supercooled Vent | Lv3 | From the start | Vent |
| Status Scrubber | Lv1 | From the start | Status Scrubber |
| Auto-Scrubber | Lv2 | From the start | Status Scrubber |
| Auto-Scrubber II | Lv3 | From the start | Status Scrubber |
| Multi-Scrubber | Lv2 | From the start | Status Scrubber |
| Multi-Scrubber II | Lv3 | From the start | Status Scrubber |
| Autopilot | Lv1 | From the start | Autopilot |
| Overcharged Autopilot | Lv2 | From the start | Autopilot |
| Overcharged Autopilot II | Lv3 | From the start | Autopilot |
| Surging Autopilot | Lv2 | From the start | Autopilot |
| Surging Autopilot II | Lv3 | From the start | Autopilot |
| Ion Blast | Lv1 | From the start | Ion Blast (Crash Ability) |
| Cooling Blast | Lv2 | From the start | Ion Blast (Crash Ability) |
| Charging Blast | Lv2 | From the start | Ion Blast (Crash Ability) |
| Shielding Blast | Lv2 | From the start | Ion Blast (Crash Ability) |
| Ion Bolt | Lv1 | Tales of Podracing | Ion Bolt |
| Concussive Bolt | Lv2 | Tales of Podracing | Ion Bolt |
| Concussive Bolt II | Lv3 | Tales of Podracing | Ion Bolt |
| Multi-Bolt | Lv2 | Tales of Podracing | Ion Bolt |
| Multi-Bolt II | Lv3 | Tales of Podracing | Ion Bolt |
| Concussion Mine | Lv1 | Tales of Podracing | Concussion Mine |
| Concussion Mine II | Lv2 | Tales of Podracing | Concussion Mine |
| Concussion Mine III | Lv3 | Tales of Podracing | Concussion Mine |
| Freezing Concussion Mine | Lv2 | Tales of Podracing | Concussion Mine |
| Freezing Concussion Mine II | Lv3 | Tales of Podracing | Concussion Mine |
| Shockwave | Lv1 | Tales of Podracing | Shockwave |
| Vectored Shockwave | Lv2 | Tales of Podracing | Shockwave |
| Vectored Shockwave II | Lv3 | Tales of Podracing | Shockwave |
| Magnetic Shockwave | Lv2 | Tales of Podracing | Shockwave |
| Magnetic Shockwave II | Lv3 | Tales of Podracing | Shockwave |
How to Get Abilities: Pick 1 of 3 From a Pack
To get an Ability, you open an Ability Pack and pick 1 of 3 random Abilities to install. You can’t buy them one at a time in the shop.
- Hibi’s Shop: buy Ability Packs (prices in the table below)
- Event rewards: Ability Packs show up among the rewards for races and Field Tests
- Racer Styles: each style starts the tour with certain Abilities already equipped
- Tales of Podracing: 8 of the tales give you an Ability when you win (see the next section)
Ability Pack Prices and Level Odds
| Item | Value |
|---|---|
| Shop price | 2,500 Credits. Goes up by 1,000 with each purchase |
| Mystery Encounter: “Let’s go for some affordable parts.” | Packs cost double (5,000 at first) |
| Mystery Encounter: “Let’s get the cheap packs.” | Packs cost half (1,250 at first) |
| Mystery Encounter: letting Hibi go ahead with her theft | 20% chance that all shop prices go up 1.5x |
| Level odds of the contents | Shop packs Lv1:Lv2:Lv3 = 1:2:2, rewards 1:1:1 |
| Choices | Pick 1 of 3 |
| The Pirate’s Favor “Bloody Bounty“ | 1 more choice |
| The Broker’s Favor “Deeper Pockets“ | 1 fewer choice, with a 20% chance of higher rarity |
The game data also lists a price for each individual Ability (1,000 Credits for Lv1, 2,000 for Lv2 and 4,000 for Lv3). But since single Abilities never show up in the shop, the pack price is all you ever pay.
Lv2 and Lv3 appear in packs as upgrades to Abilities you have equipped. Cards with the “^^” mark are upgrades. You can equip up to 4, and if you take a new Ability while all your slots are full, it replaces one of them.
The Favor “Feet First” unlocks when you clear the first tale in Tales of Podracing. With it equipped, you get 1 Ability Pack when you clear the first event of a tour (ranking it up extends this to 1 each for the first 2, then the first 3 events).
For the other Favors besides Feet First and how to get each one, see our Favor list.
For the other Favors besides Feet First and how to get each one, see our Favor list.
We cover how to earn Credits and what the shop sells in our beginner’s guide, and each style’s starting Abilities in our guide to all 14 Racer Styles.
Some Parts also speed up Ability reloads. Faster Attachments give +50–200% reload speed, and Supercooled Attachments give +200% only while you’re Cooled. There’s also Scrap Reloader, which instantly reloads all your Abilities when you get a Takedown.
8 Abilities Unlocked in Tales of Podracing
Tales of Podracing are events where you race Sebulba‘s podraces from the old days. They become playable once you reach Act II of the campaign, and you play through all 12 tales in order.
Win any of the 8 tales below and you get that Ability on the spot, and it appears in packs from then on. In each tale you race a vehicle that already has the required Ability, so you can take it on even if you don’t own it yet.
| Tale | Win Condition | Unlocked Ability |
|---|---|---|
| #4 “Day of the Flame Vents” | Finish 1st and hit 3 opponents with Flame Vent | Flame Vent |
| #5 “Whatever It Takes” | Finish 1st and get 3 Takedowns | Impact Surge |
| #6 “Other Weapons Too” | Finish 1st and hit 3 opponents with Shockwave | Shockwave |
| #7 “Fear and Respect” | Finish 1st and hit 3 opponents with Ion Bolt | Ion Bolt |
| #8 “Explosive Inspiration” | Finish 1st and hit 3 opponents with Concussion Mine | Concussion Mine |
| #9 “A Pretender Approaches” | Finish 1st and run into mines no more than 2 times (playable only after you finish Act II) | Concussion Mine II |
| #10 “Two Birds With One Shockwave“ | Finish 1st and hit 2 or more opponents with a single Shockwave | Magnetic Shockwave |
| #11 “The More They Come” | Finish 1st and hit 5 opponents with Multi-Bolt | Multi-Bolt |
Until an Ability is unlocked, its Lv2 and Lv3 upgrades won’t appear in packs either. For example, Magnetic Shockwave II only shows up as an upgrade after you unlock Magnetic Shockwave in tale #10.






Comments